For this task, we had to search for three different films and analyse the lighting in certain scenes from these films.
First film- God Bless America
Although the film itself is dark, the lighting throughout the film remains quite bright and warm. A large portion of the film is shot outside with (mostly) natural, bright lighting. Although for this scene, it is obvious that artificial lighting (and maybe reflectors) was also used to focus on the characters face- you would not have been able to achieve this level of brightness with just natural lighting.
Second film- Stand By Me
The majority of Stand By Me is shot outside where the lighting is natural. In this particular scene, the weather changes to gloomy and grey which contrasts with the weather throughout the film previously which was bright and sunny. As this scene is probably the darkest and saddest scene throughout the film, the director used “pathetic fallacy” so the relatively gloomy weather portrays the mood in the scene.
The lighting is similar to the last scene in the sense of using both natural and artificial lighting so you can clearly see the characters faces and bodies.
Third film- The Butterfly Effect
In contrast to the last two films, The Butterfly Effect is quite a dark film in terms of both lighting and meaning. In this one particular still, you can tell that the lighting and colour has been heavily manipulated. Evidence of artificial lighting can be seen on both the characters faces in order to be able to see them both clearly, and for dramatic effect. The blue lighting/colouring is symbolic. Blue is often associated with trust and loyalty, which is appropriate within the relationship of these two characters.
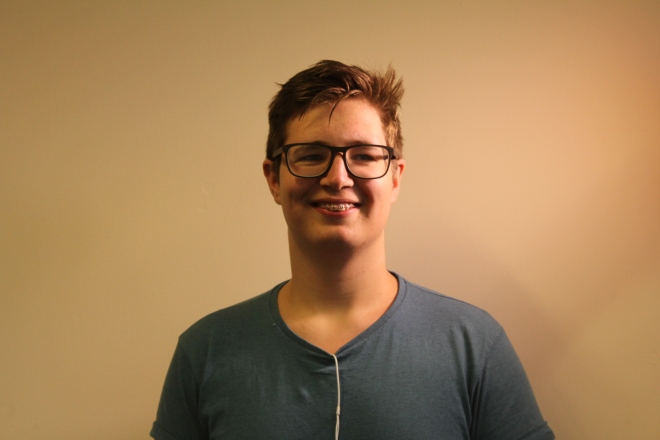
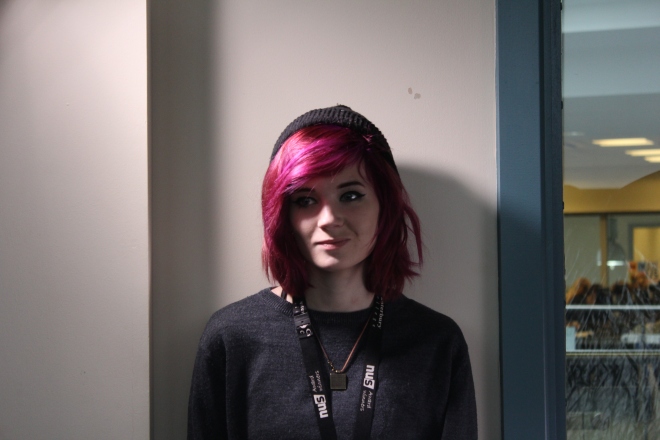
We also went out this week and took our own images imitating/based on the film stills we chose previously.
The first picture I took was replicating an image from Stand By Me. The outcome I wanted involved natural light and artificial light from the bottom left pointing upwards towards their faces. I wasn’t able to get the exact natural lighting I wanted due to weather conditions outside. In the original still from the film, as well as the natural lighting, there is also some subtle light pointing up towards their faces- I tried to replicate this but the lighting I used was far too strong, causing an unwanted shadow on their faces.
For this image, I wanted to focus mainly on the natural lighting as I thought it would replicate the original image more effectively. I used a reflector on the left side of his body to try and subtly create more light but this wasn’t effective as the lighting created by this wasn’t strong enough. I should have used artificial lighting for this rather than relying on just natural lighting as the background lighting in the original picture is very bright, whereas the light in mine isn’t as intense.


To replicate the image from The Butterfly Effect, I needed the focus to be on two faces and also I also needed the image to include mainly blue and white tones. To get the blue colours in my image, I used a blue background and high contrast (to make sure the face was clear and easy to make out) and also a green gel filter to help with the general tone of the image. We also used the LED light over the faces to try and create the same lighting as in the original image, but looking back on it now I realise we should have picked a darker location to take this picture as the general area we were in was very bright, meaning the LED light wasn’t as effective.
We also took images demonstrating our understanding of lighting.
For this task, we experimented with three point lighting. We used a bright LED light (key light), and other less bright lights (iPhone torches acting as fill lights and back lights) and also a reflector. In these images, as we also had the main light on in the room, the results turned out quite bright.


